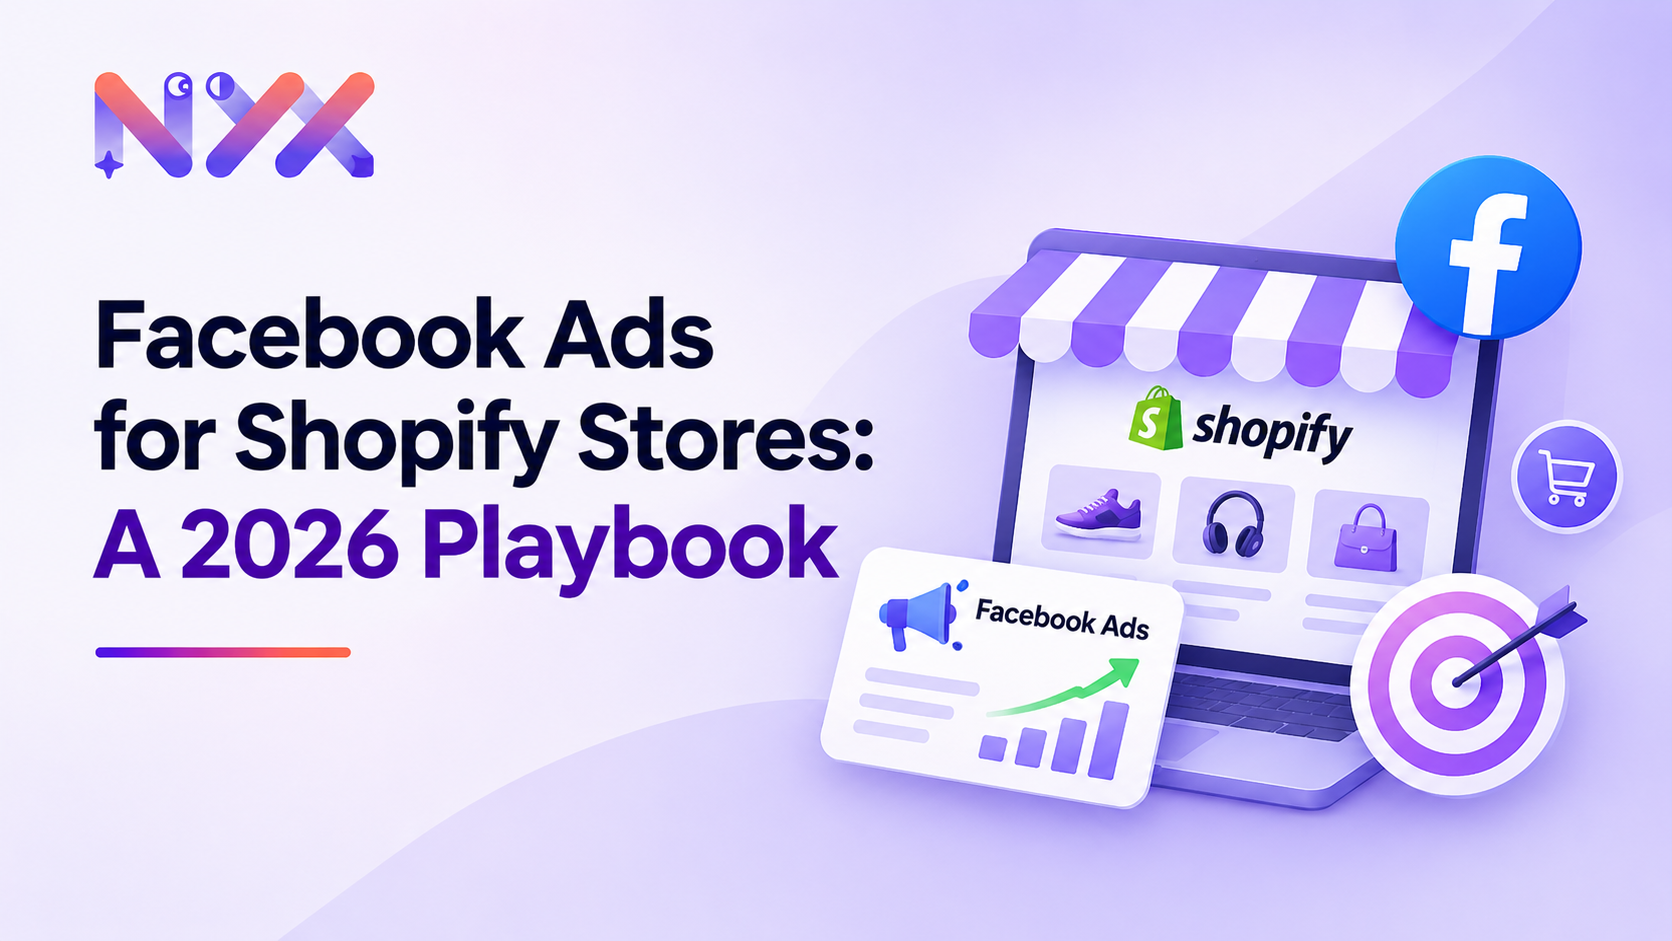
Meta is still the biggest growth engine for most Shopify brands. Facebook and Instagram can put your products in front of the right shoppers, bring back people who left items in their cart, and turn first-time buyers into repeat customers. But the way Shopify ads on Facebook work in 2026 is very different from even two years ago. Meta's AI now does much of the targeting. Your job is to feed it clean data, strong creative and the right goals.
This playbook walks you through the full setup and strategy, step by step: connecting the Shopify Meta channel, getting product catalog sync right, installing the Meta Pixel and CAPI for Shopify, launching Advantage+ shopping campaigns, retargeting cart abandoners, setting ROAS targets from your margins and AOV, and reading results in Shopify analytics.
Key Takeaways
|
Why Shopify Ads on Facebook Still Work in 2026
Shopify and Meta are built to work together. Your product data, customer events and orders can flow into Meta automatically, which gives its algorithm what it needs to find buyers. Visual products, impulse purchases and gifting categories do especially well because Reels, Stories and the feed are where people discover new brands.
What has changed is control. Meta now prefers broad audiences, automated placements and AI-driven delivery. The stores that win are not the ones with the cleverest interest stacks. They are the ones with accurate tracking, a healthy catalog and a steady flow of fresh creative.
Step 1: Connect the Shopify Meta Channel
The Shopify Meta channel is the official Facebook & Instagram app in Shopify. It handles three jobs in one place: pixel installation, Conversions API setup and catalog sync. Here is how to set it up:
In Shopify admin, go to Settings, then Apps and sales channels, and add the Facebook & Instagram channel.
Connect your Meta Business portfolio, Facebook Page, Instagram account, ad account and pixel. Use the business account you will advertise from, not a personal or old agency account.
Open Data sharing settings and choose Maximum. This sends events from both the browser and Shopify's servers, so fewer purchases go missing.
Accept Meta's terms and let the channel create or connect your product catalog.
Take five minutes to check every connected asset belongs to your business. Mismatched accounts are one of the most common reasons purchases fail to show up in Ads Manager.
Step 2: Get Product Catalog Sync Right
Product catalog sync sends your Shopify products to Meta Commerce Manager. The catalog powers dynamic product ads, Advantage+ catalog ads and Instagram Shopping tags. If the catalog is messy, every catalog ad you run will be weaker.
Titles: clear and descriptive, with the product type and key attribute, such as "Women's Linen Kurta, Olive Green".
Images: clean, high-resolution and consistent. Add lifestyle images as extra images where you can.
Price and stock: must match the store exactly. Out-of-stock items should drop out automatically.
Variants: each size or colour is a separate item, so keep variant names and images accurate.
Product sets: group products by category, price band or bestsellers so you can run focused catalog ads.
After syncing, open Commerce Manager and review the diagnostics for rejected items. A product that is rejected cannot appear in any catalog ad.
Step 3: Install the Meta Pixel and CAPI for Shopify
The Meta Pixel runs in your shopper's browser and reports actions like viewing a product or adding to cart. The Conversions API (CAPI) sends the same events from Shopify's servers. Together they give Meta a far more complete picture, because browser tracking alone loses events to ad blockers, iOS privacy settings and slow pages.
When you choose Maximum data sharing in the Shopify Meta channel, Shopify sets up the Meta Pixel and CAPI for Shopify for you and deduplicates events that arrive from both sources. Then verify the five events that matter:
Event | When it fires | Why it matters |
|---|---|---|
PageView | Any page loads | Builds website visitor audiences |
ViewContent | A product page is viewed | Feeds catalog retargeting |
AddToCart | An item is added to cart | Defines your cart abandoner audience |
InitiateCheckout | Checkout starts | Identifies your hottest prospects |
Purchase | An order is completed | The event your sales campaigns optimise for |
Use Events Manager's Test Events tool or the Meta Pixel Helper browser extension to place a test order and confirm each event fires once, with the correct value and currency. Also check Event Match Quality in Events Manager. A higher score means Meta can match more of your customers to their accounts, which improves targeting and reporting.
Step 4: Build Your Campaign Structure
Most Shopify stores need only three campaign types. Keep the account simple so each campaign gets enough conversions to learn. Meta generally needs around 50 conversions per ad set per week to exit the learning phase, and splitting budget across too many campaigns slows that down.

Figure 1: Each stage of the funnel has one clear job.

Figure 2: A sensible starting point. Shift it as your data grows.
Step 5: Launch Advantage+ Shopping for Prospecting
Advantage+ shopping is Meta's AI-led campaign type for e-commerce sales, now part of its Advantage+ sales campaign setup. Instead of building audiences by hand, you give Meta your catalog, your creative and a purchase goal, and it decides who sees what across Facebook, Instagram and Meta's other placements.
How to set it up well
Objective: Sales, optimising for the Purchase event.
Audience: broad, with only location and minimum age. Tell Meta who your existing customers are so it can report new versus returning buyers.
Existing customer cap: set a limit on how much budget goes to people who already bought, so prospecting stays prospecting.
Creative: 6 to 12 varied ads. Mix catalog ads, short UGC videos, founder stories, product demos and static offers.
Budget: start with a daily budget that can buy several purchases a day at your target cost, then raise it by 20 to 30 percent every few days when results hold.
Creative is your main lever now. When Meta controls targeting, the hook in the first three seconds of a video decides who stops scrolling, and that in turn decides who Meta shows the ad to next. Refresh creative every two to four weeks before fatigue sets in.
Step 6: Retargeting Cart Abandoners
Most people who add a product to cart do not buy on that visit. Retargeting cart abandoners brings them back with the exact product they wanted, which makes it one of the highest-return activities in your account.
Create a catalog sales campaign using your synced product catalog.
Target people who added to cart or started checkout in the last 7 to 14 days, and exclude purchasers from the same period.
Add a second ad set for product viewers in the last 30 days with a lower budget.
Use dynamic catalog ads so each person sees the products they viewed, plus a reason to finish: free shipping, cash on delivery, reviews or a limited-time offer.
Cap frequency by watching it weekly. If people see the same ad more than a handful of times a week with falling clicks, rotate creative.
Keep retargeting budgets modest. These audiences are small and many would buy anyway, so heavy spend here inflates reported ROAS more than it grows sales. Pair it with Shopify's abandoned checkout emails and WhatsApp reminders so ads and messages work together.
Step 7: Set ROAS Targets From Your Margins and AOV
Many stores copy a ROAS target from a blog or competitor. That is a mistake. Your ROAS targets should come from your own economics.
Start with break-even ROAS. Work out your gross margin after product cost, shipping, payment fees and average returns. Break-even ROAS is 1 divided by that margin. A store with a 40 percent margin needs a 2.5x ROAS just to cover ad spend. A store with a 60 percent margin breaks even at about 1.67x.

Figure 3: Lower-margin stores need much higher ROAS to stay profitable.
AOV, or average order value, is the other half of the equation. The higher your AOV, the more you can afford to pay for each purchase. At a 50 percent margin, an ₹800 AOV leaves ₹400 to acquire a customer. A ₹2,000 AOV leaves ₹1,000. Bundles, free shipping thresholds, volume discounts and post-purchase upsells all lift AOV and give Meta more room to win auctions.

Figure 4: Every rupee of AOV you add raises the cost per purchase you can afford.
Set two numbers for the account: a break-even ROAS you must never fall below for long, and a target ROAS that delivers the profit you want. For first purchases, many brands accept close to break-even because repeat orders bring the profit later. Decide this on purpose, based on how often your customers come back.
Step 8: Measure Results in Shopify Analytics
Ads Manager tells you what Meta credits itself with. Shopify analytics tells you what actually happened in your store. You need both.
Total sales and orders: your source of truth for revenue.
Blended ROAS: total Shopify revenue divided by total ad spend across all channels. Check it weekly.
Sessions by source: confirms that Facebook and Instagram traffic is growing alongside spend.
First-time vs returning customers: shows whether ads are bringing new buyers or recycling old ones.
AOV and conversion rate: tell you whether the store, not just the ads, is improving.
Expect Meta and Shopify to disagree. They use different attribution windows and rules. The useful signal is the trend: if Meta's reported ROAS rises while Shopify revenue stays flat, Meta is likely claiming sales that would have happened anyway.
Common Mistakes Shopify Stores Make on Meta
Launching before tracking works. Without a firing Purchase event, sales campaigns cannot learn.
Too many small campaigns. Spreading budget thin keeps everything stuck in learning.
Over-spending on retargeting. It looks efficient but grows the business slowly.
Running the same creative for months. Performance fades quietly as audiences tire of it.
Chasing ROAS without checking margins. A 3x ROAS can still lose money on a low-margin product.
Editing campaigns every day. Big changes reset learning. Give campaigns time and enough data.
Your 30-Day Launch Checklist
Week | What to do |
|---|---|
Week 1 | Install the Shopify Meta channel, set Maximum data sharing, sync the catalog, verify all five pixel events with a test order |
Week 2 | Calculate break-even and target ROAS, build 6 to 12 creatives, launch Advantage+ shopping for prospecting |
Week 3 | Launch the cart abandoner catalog campaign, set up abandoned checkout emails, review creative performance |
Week 4 | Compare Ads Manager with Shopify analytics, cut weak ads, scale winners by 20 to 30 percent, plan the next creative batch |
Conclusion
Running Shopify ads on Facebook in 2026 is less about clever targeting and more about strong foundations. Connect the Shopify Meta channel, keep your catalog clean, send complete data through the Meta Pixel and CAPI, and let Advantage+ shopping find new buyers while a focused campaign brings back cart abandoners. Then hold every campaign to ROAS targets built from your own margins and AOV, and check the truth in Shopify analytics.
Want an expert eye on your setup? NYX's free ad account audit reviews your Shopify tracking, catalog health and Meta campaign structure, and shows exactly where your budget can work harder.